
+ Art of Skateboarding Articles
The Offically Unoffical AOS Decks and More Display Guide
(aka. How to do "Showing Off" right!)
With the rise of collecting, the most often asked question we get is usually along the lines of “I have a sweet collection I really want to show off, but I’m not sure how. Any tips?”. As your luck would have it, we have not one but MANY ideas for you based on years of experience and seeing all manner of creative (and not-so-creative) ways of doing it. From the budget-friendly all the way to the baller-ific, we put together the following guide to set you on your path. There are PLENTY of other web pages, wikis and videos to help you with hanging a deck that can be found by simply searching "3 Ways to Hang a Skateboard on a Wall" or "how to display a skateboard on the wall" as well as many videos that will show you how to DIY your own hangers, but we thought we would we give it a go to provide you with a more comprehensive, one-stop guide. We hope it helps and feel free to send us any additional recommendations or information.
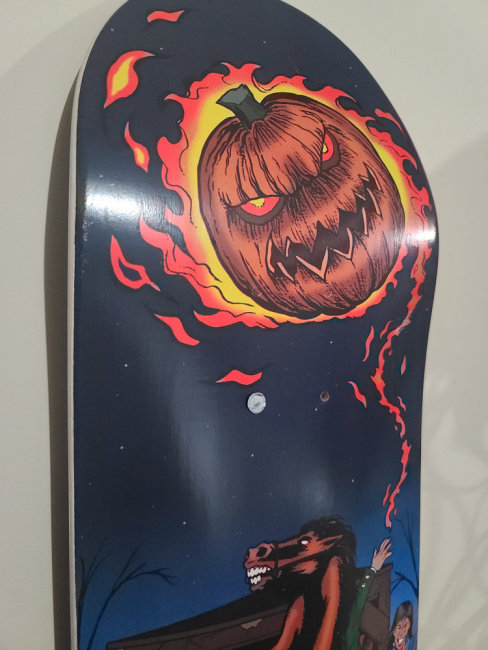
"Screw It!"
This is pretty much just as you might expect in the title. Take a nail or screw, drive into wall at desired height, slip through truck hole, and viola...fastest install ever! (haha) Keep in mind that if using a screw, you will have to unscrew it from the wall, slid it through truck hole and then re-screw back into hole in the wall. You will also typically have to put another nail/screw in an additional truck hole in order to balance the board out either horizontally or vertically. Variations include driving the nails/screws into a 2x4 mounted to wall in order to display several decks side-by-side or to simply create some space off the wall much like the "floating" displays mentioned here later.
Pros:
- Cheap! - You can even find a nail or screw laying around out on the street for free!(haha)
- Fastest install of any method
- Easiest way to display decks at "odd" angles such as "slanted" on a wall
Cons:
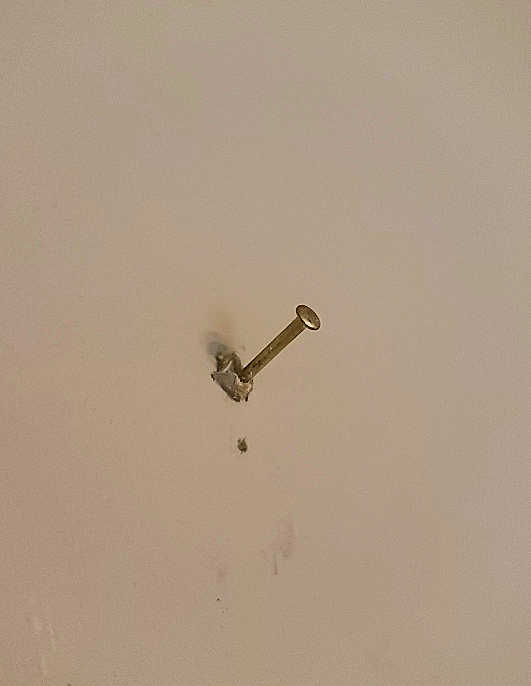
- Possible damage to deck - It can cause wear, nicks or compression marks around truck holes, and yes, there are some very picky collectors who even inspect truck holes under a magnifying glass looking for any possible "marks off" against being classified as their ideal of "mint".
- Need to use somewhat longer nail/screw to insure it reaches deep enough into the wall. This is especially an issue with decks with steep noses and concave.
- Not aesthetically pleasing (kinda looks bad)
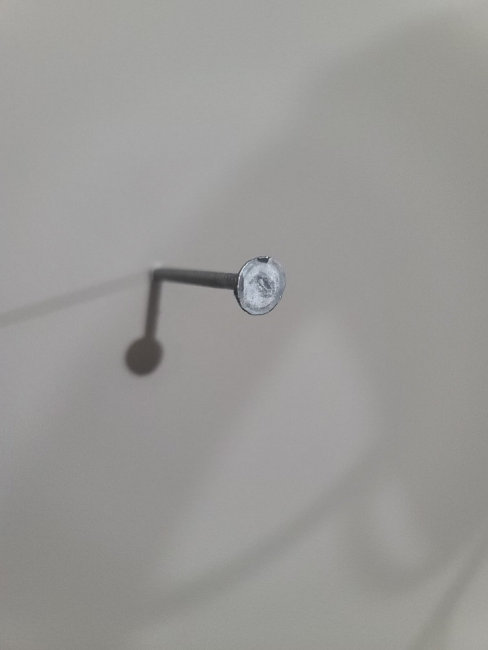
Step 1 : Pre-drive nail/screw in wall at desired location and height
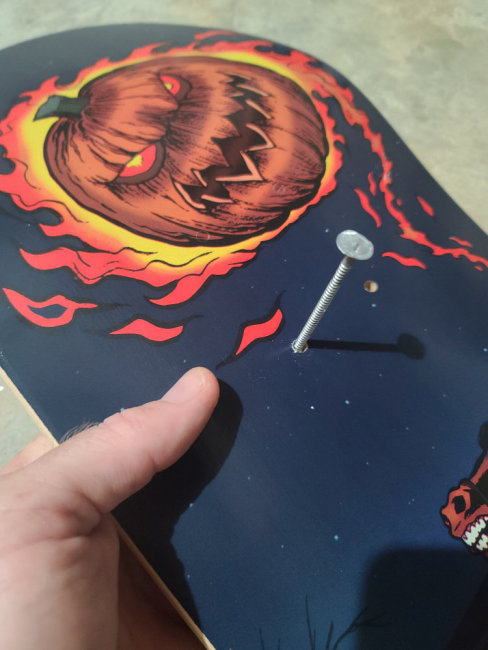
Step 2 : Thread nail/screw through front truck hole
Step 3 : Drive nail/screw into existing hole your prepped and tighten to let deck hang
"String Theory"
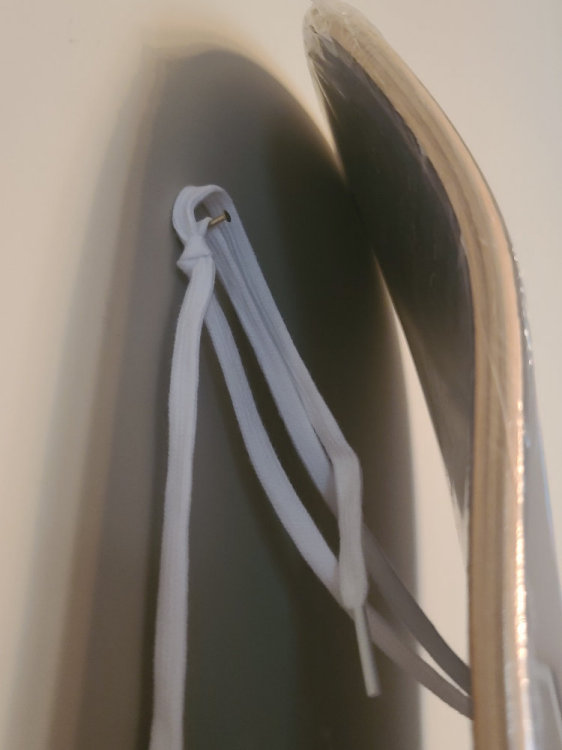
This is probably the most common method of all. Take some fishing line / shoestring/ etc., loop one end through a truck hole and bring back around through truck hole next to it. Tie a knot of your choice (make sure it is tight!) with the ends to complete your "loop". Finally, hang the "loop" on a nail, screw or hook mounted to the wall. It is often best to use a picture hanging hook (you can find kits of these in stores like Home Depot, Lowes, etc) or better still, a silicon, non-scratch hook (for example, a 3M Command hook).
Pros:
- Fairly inexpensive - If you buy the mounting hooks in bulk and use fishing line, the "cost per deck" is pretty cheap. Using fishing line and this method is typical for collectors who are displaying several decks.
- Easy install -This is only slightly more involved than the "screw it" method mentioned before.
- Self-Leveling - As the "loop" hangs over one central point of contact, it is very easy to hang a deck level (ie. not crooked) much like hanging a picture that has wire mounted to it's backing.
Cons:
- Snap/Slip Hazard- Using a weaker fishing line can possibly snap or loop can slip/untie.
- Horizontal Display is Difficult - Thie method favors a "vertical" display of the deck. It is more difficult and involved if using this method to display a deck horizontally.
- Possible damage to deck - The nail/screw/hook used to hang the loop over can cause scratches and wear to the side of the deck facing/against it. I have seen decks that had hung for years in a "busy" house (kids running and playing, music played loud, passing traffic, etc) where the vibration of the wall or deck had caused it to "rub" against the mounting hardware used which caused deep scratches to form over time in the "top" of the deck while the "bottom" side was displayed. Some people will place a small piece of thick cloth/felt in the area where the "hook" may touch the deck or on the "hook" itself.
Step 1 : Pre-drive nail/screw in wall at desired location and height
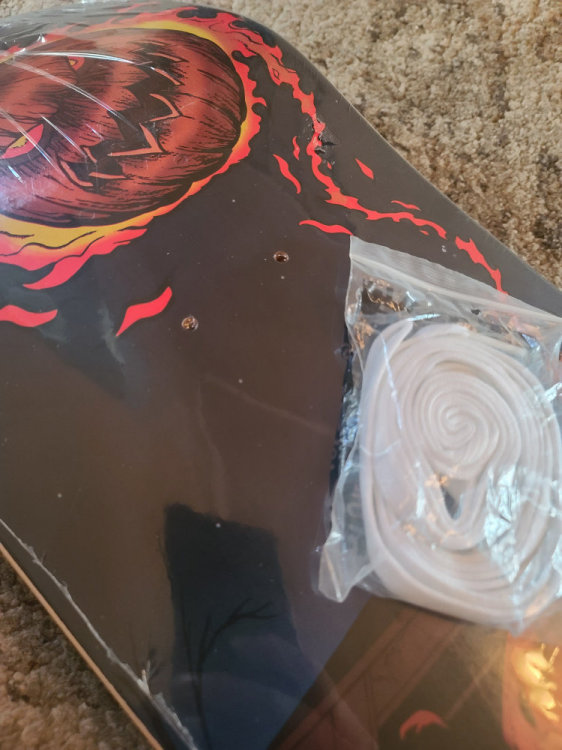
Step 2 : Get your string, wire, shoelace or whatever ready
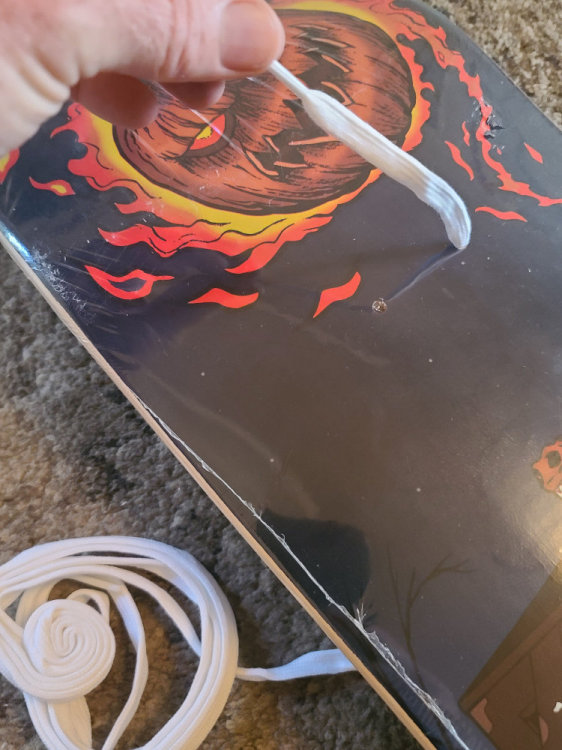
Step 3 : Insert end of string/wire/shoelace through truck hole from top side to bottom graphic
Step 4 : Thread string/wire/shoelace over into next truck hole pushing back to other/top side
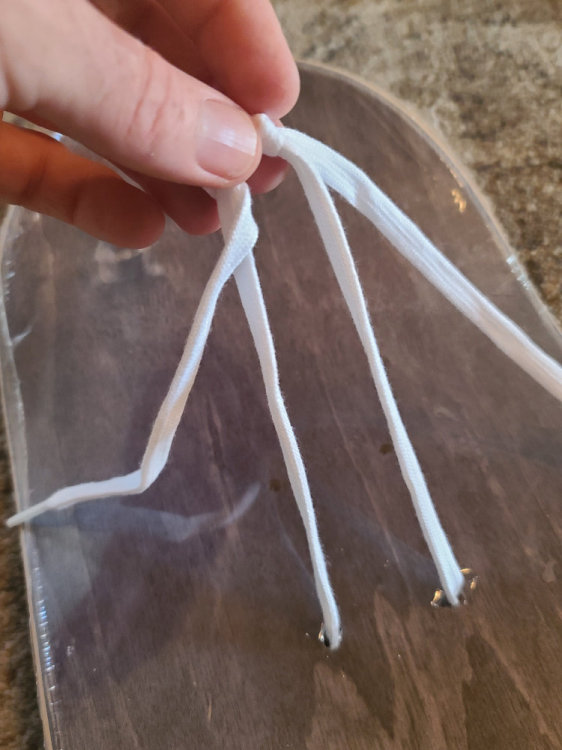
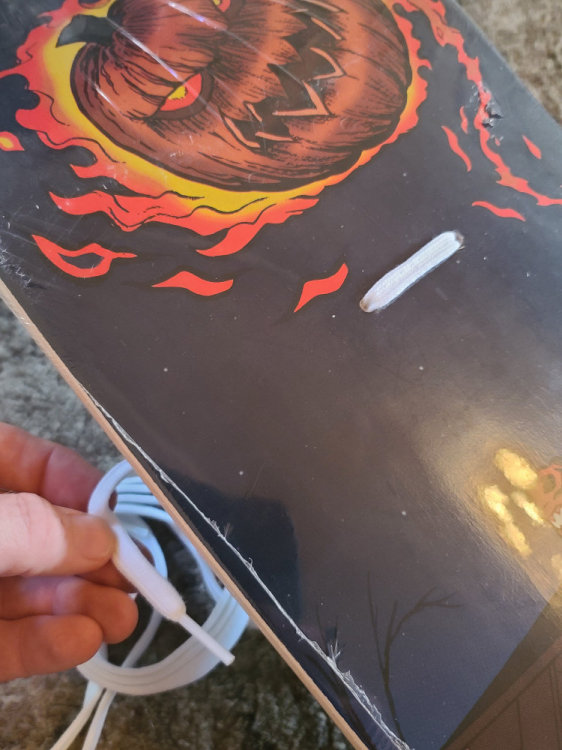
Step 5: Tie together end in your favorite knot
Step 6 : Careful drape knotted loop over nail you previously placeed
Step 7 : Insure deck hangs freely, nail can handle weight, loop does not slip and deck is nice and centered (or not to annoy your OCD friends)
using a Command hook will help protect from scratches
"Don't Stand So Close To Me"
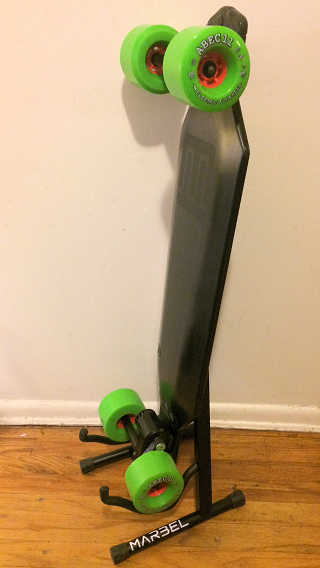
This covers a range of non-wall-mounted solutions that have been seen over the years. This is a good option for folks that have limited wall space or are not able to nail/drill into their walls. Examples of this include using a guitar stand to hold a deck and even using pre-built stands available on Etsy and similar sites. Heck, with a little ingenuity and elbow grease, you can make your own!
Pros:
- Readily available
- Relatively cheap
- Does not take wall space (sits on floor, shelf, top of furniture, etc)
Cons:
- If on ground, can get damaged/hit on accident
- Care to not tip over
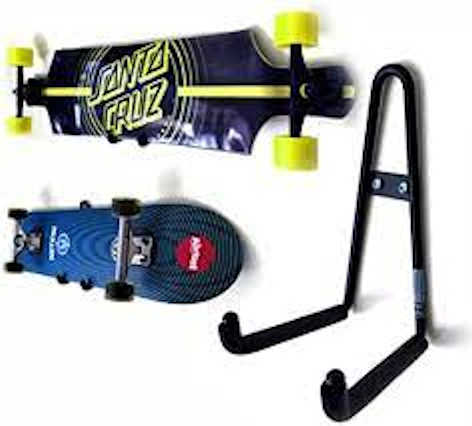
Guitar stand used to hold a deck
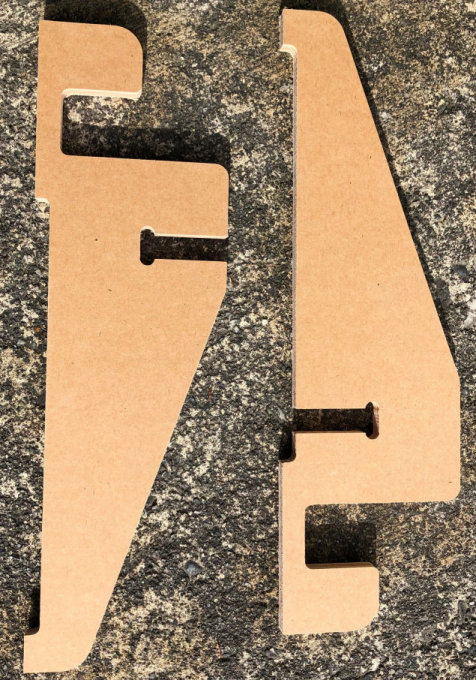
Etsy stand kit - as delivered
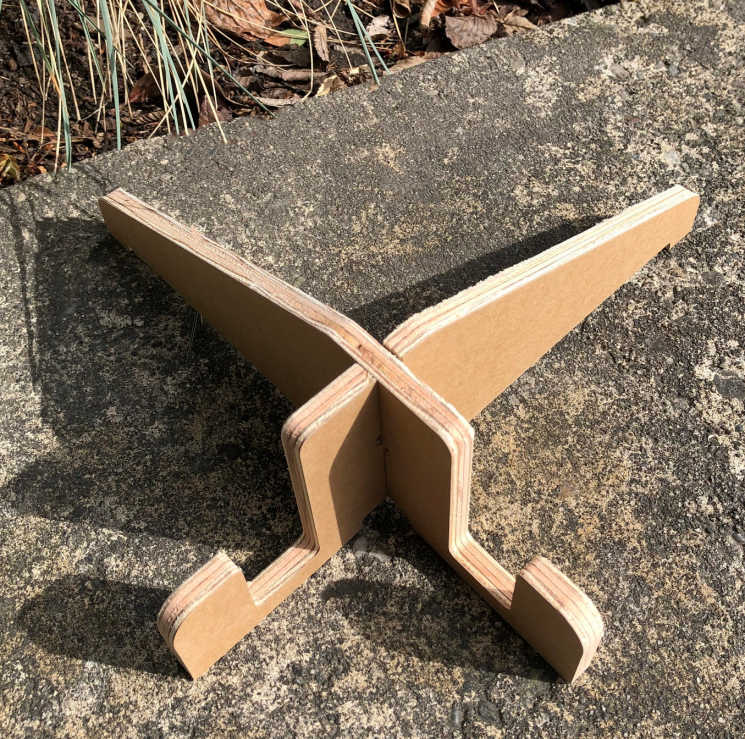
Etsy stand kit - assemble
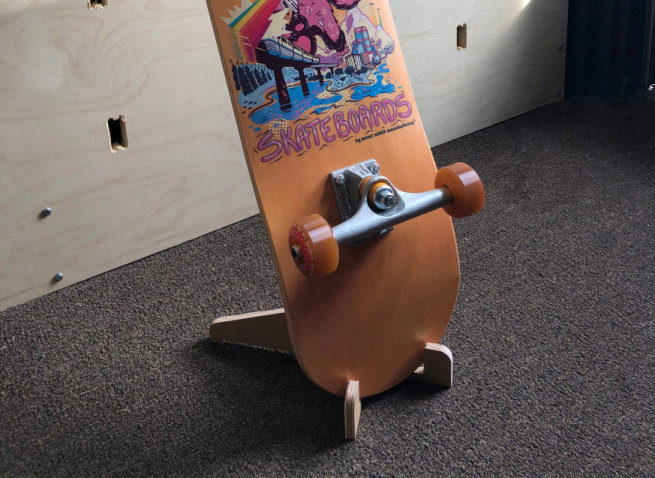
Etsy stand kit - display
Oragami board stand
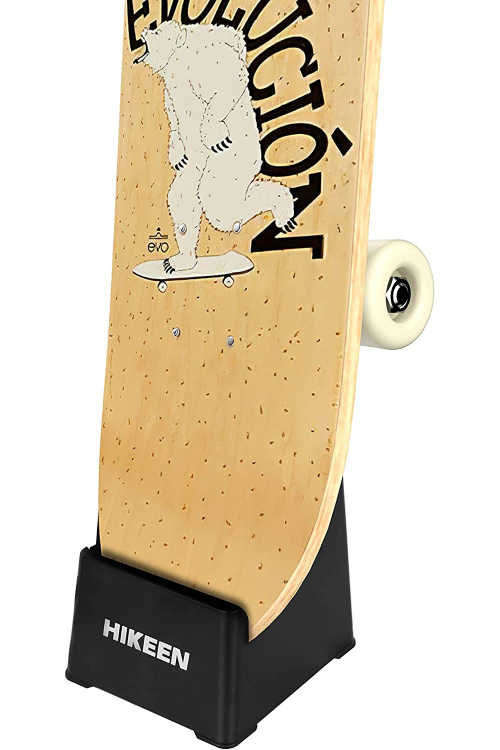
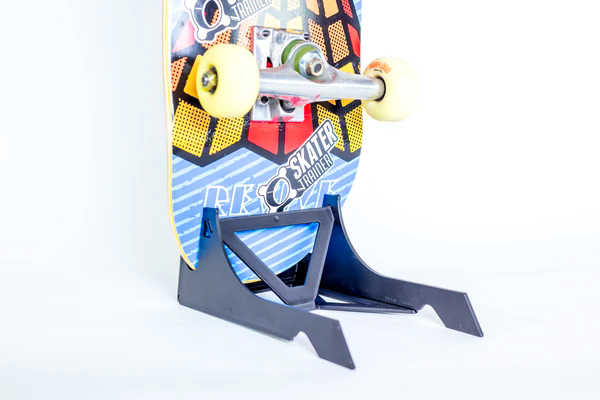
Hikeen board stand
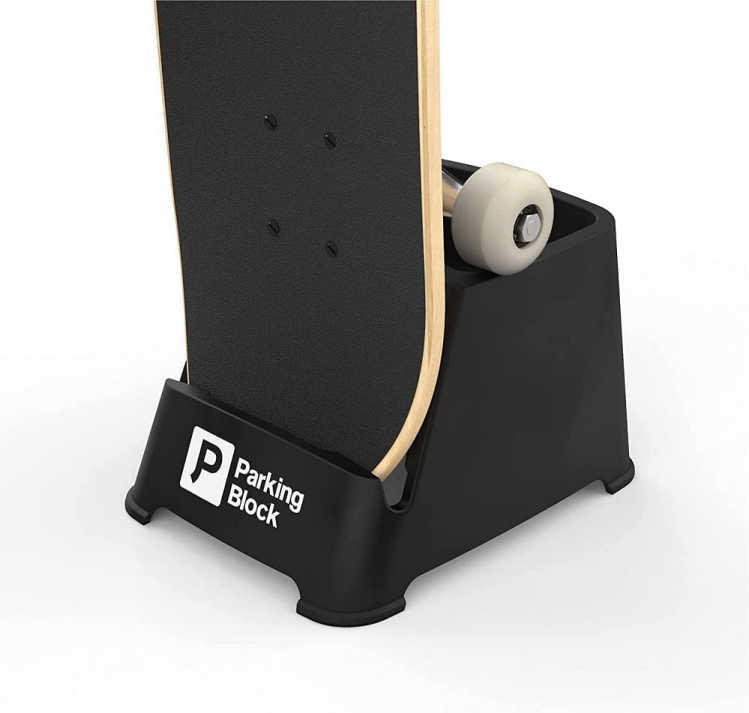
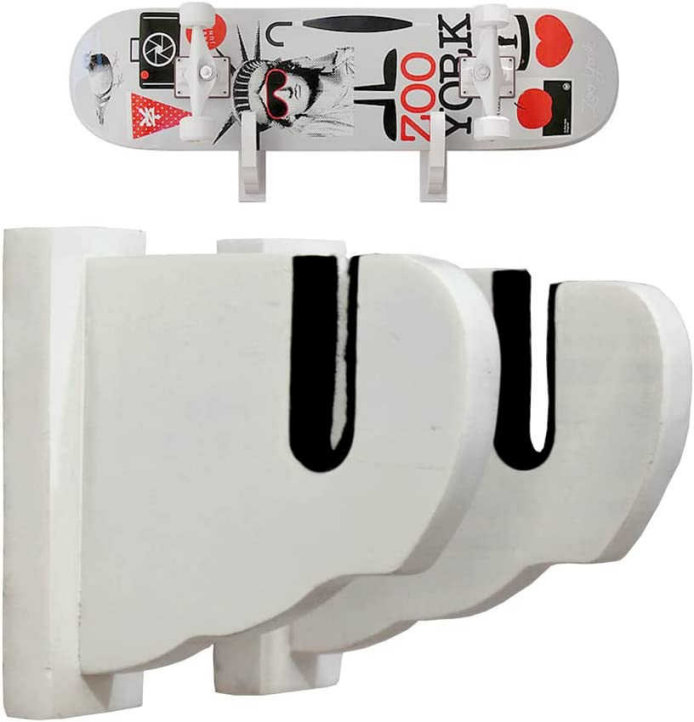
the Parking Block stand and organizer
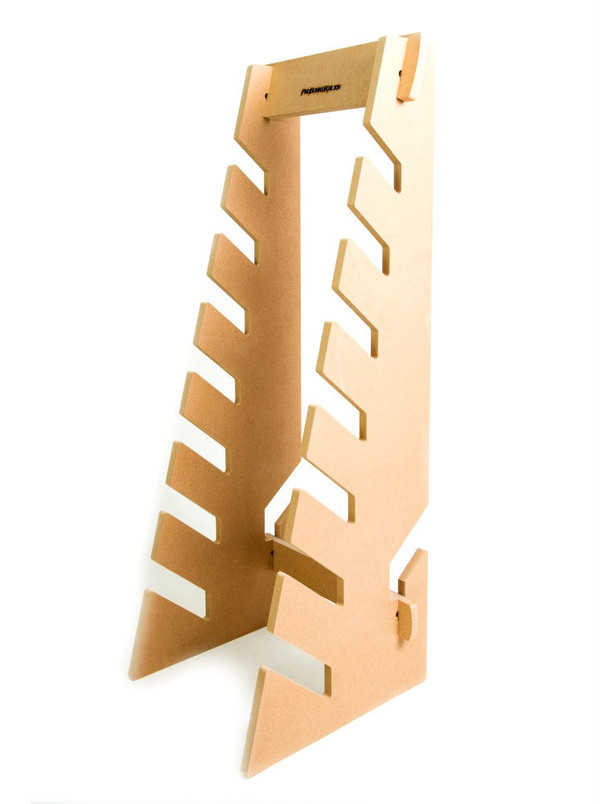
Standing floor rack (easy to make your own!)
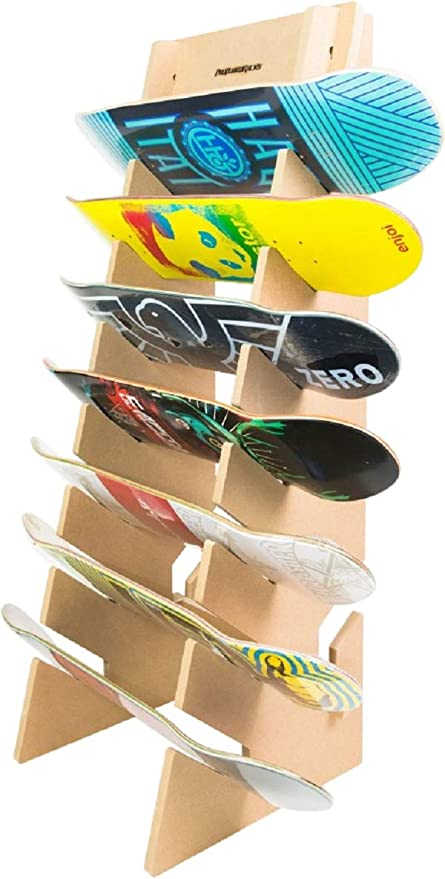
Standing floor rack with decks
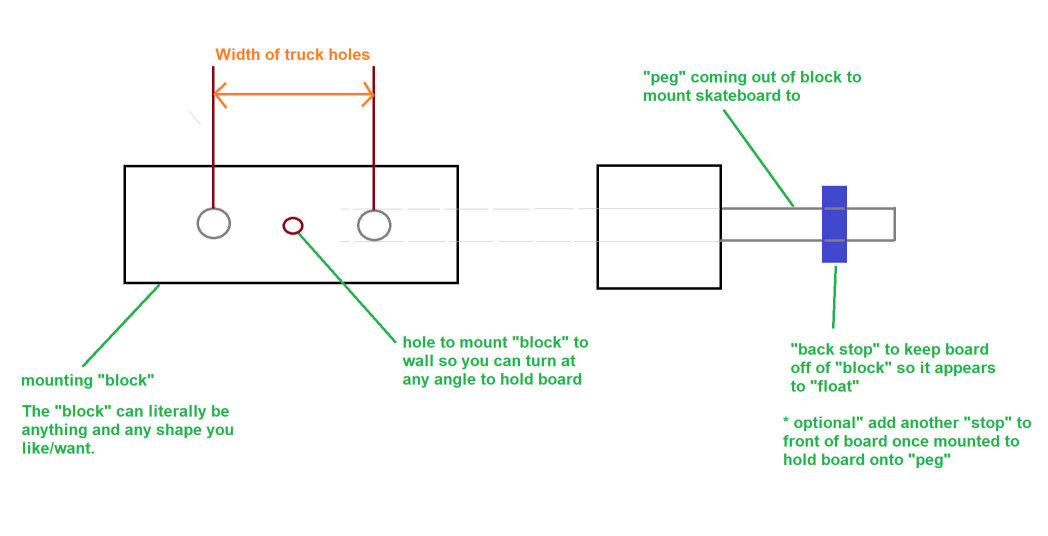
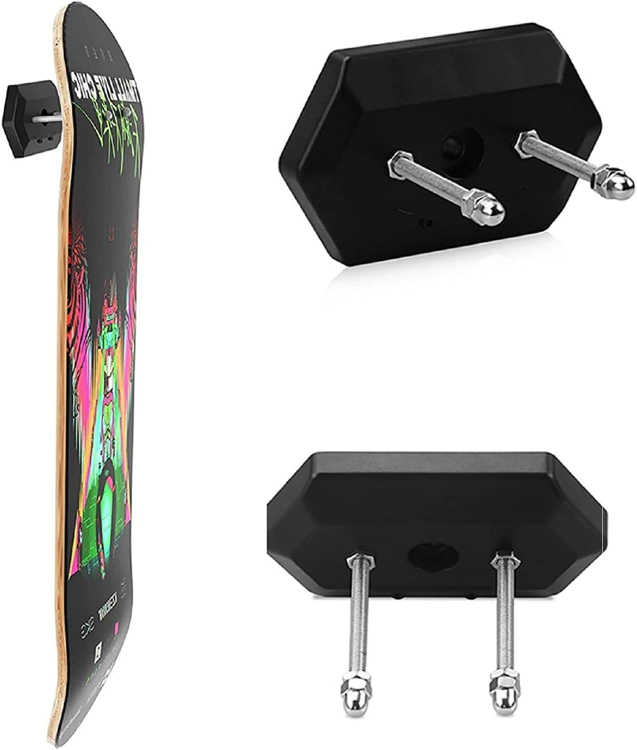
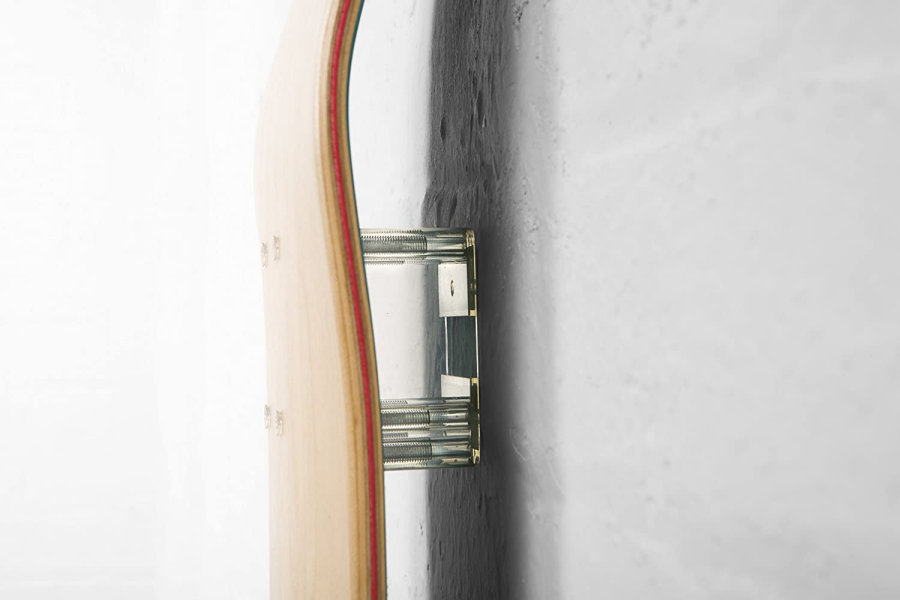
"Floating Hanger"
A little history lesson....
A lot of people do not know this but when AOS first started in 2000, yes, we listed decks in the "price guide", but another big part of the site was selling deck displays. No one was doing it or had anything to offer other than the good ol' "hang it on fishing line" method described earlier in this guide. In fact, I am quite proud to say that we were the FIRST to actually use the term "floating" deck display/hanger to describe our own product that is basically what you see everywhere today. It was the exact same concept...spacing the deck off the wall to give the appearance that it is floating in air. We used the same idea for our custom shadowboxes as well. At the time, the price to ship versus the actual cost we charged plus the time it took to make them, package and send became just too much hassle for too little pay off ($5-8 per hanger).....and the fact that it was just easier to tell someone how to make their own...all led to just calling it quits on that part of AOS and focusing more on the site. Fast forward a bit when I began to see a lot of companies popping up, each selling their own "floating" product, I was admittedly a bit pissed and considered even sending them "WTF man?!?!" emails (nicely worded of course haha), but I didn't really see the point. Again, it was easier just to tell people how to build their own, and if someone wants to just buy one, hopefully the company making them is paying good folks with that money. Karma....or something like that. hahaMake Your Own (DIY!)
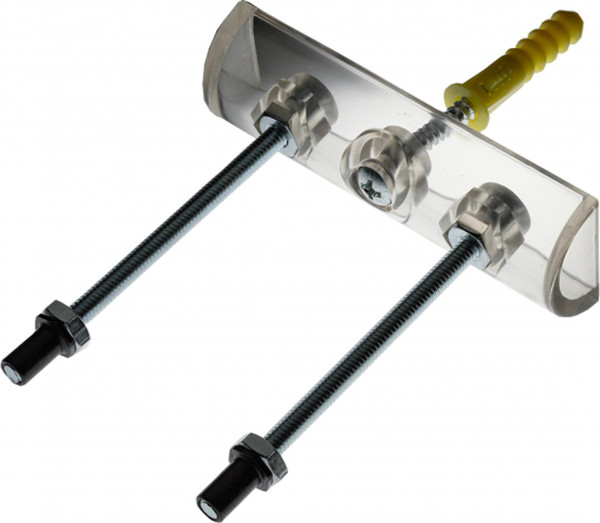
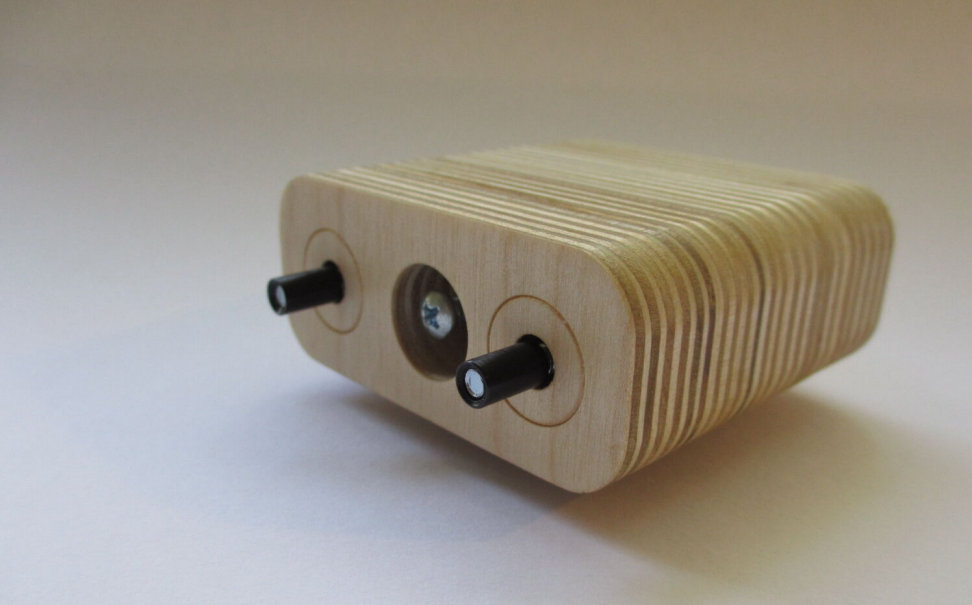
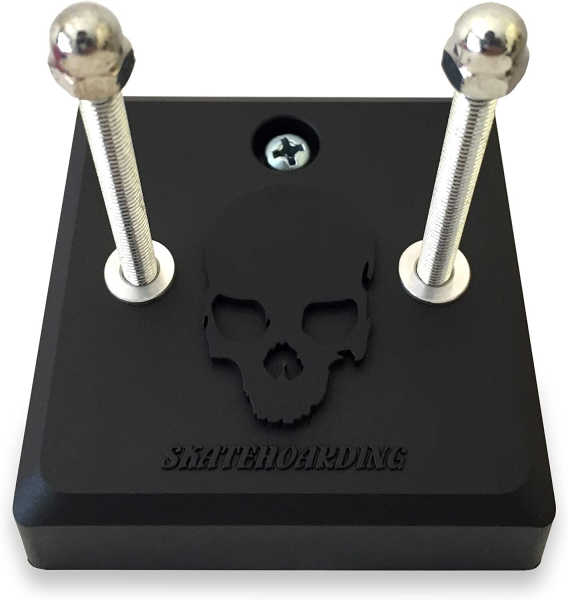
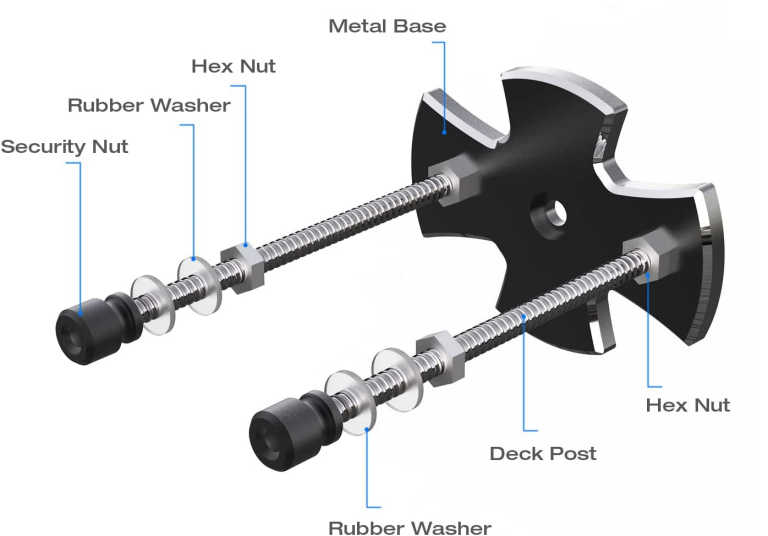
There are LOTS of videos online that cover how to make these on your own. Just looking at one should give it away though. The concept and basic design is all the same, but there are a few variations you will see: some use different “backings” (blocks of wood, molded plastics, die-cut metal, repurposed old skateboard pieces, etc.) that go against the wall, some use different “pegs” (screws, dowels, polished smooth metal pins, plastic rods, etc.), some use different protective pieces on the "pegs"(“felt”/cloth wrapping, plastice sleeves, etc), and some use different "end caps" on the "pegs" (end cap bolts, platic nibs, hex bolts, etc....and I have even seen some cool ones with little plastic skulls!). Give it a try to come up with your own unique take!Pros:
- Small footprint
- Relatively cheap
- Easy to make/buy
Cons:
- Requires attention to not damaging truck holes using protective measures.
simple DIY instructions

common example
another simple example
You can "class it up" a bit if you cut cardboard/paper, mount to wall and create a "faux" frame around your floating skateboard. Some people just use tape to create the effect.
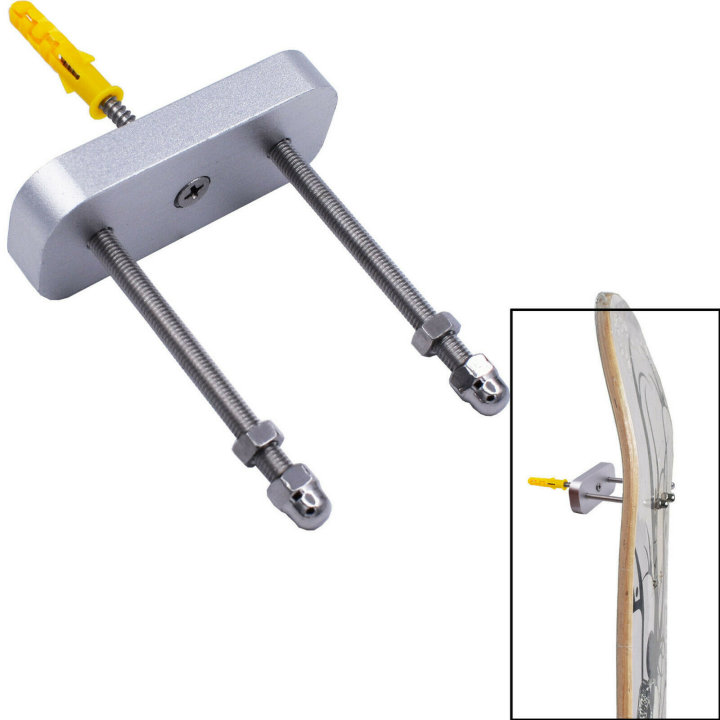
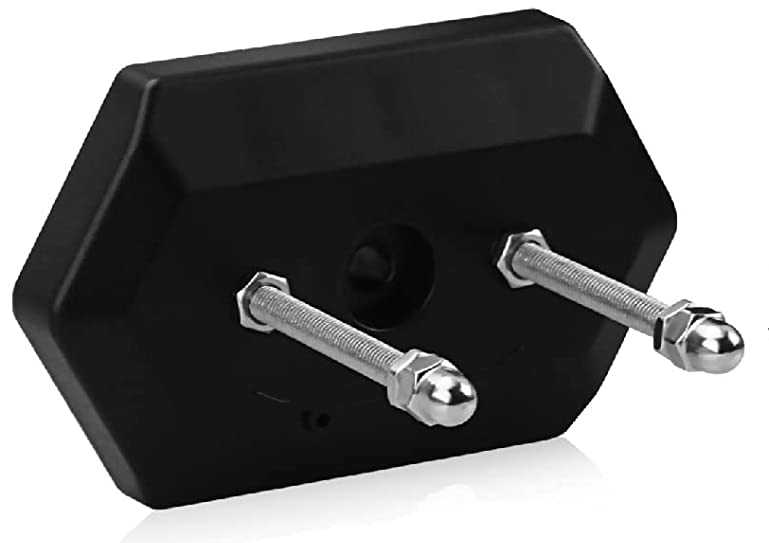
Company Manufactured "Floating" Hangers
There are TONS more than these as well if you just do an internet search for "skateboard floating hanger". This is just a sampling of some of the more popular ones.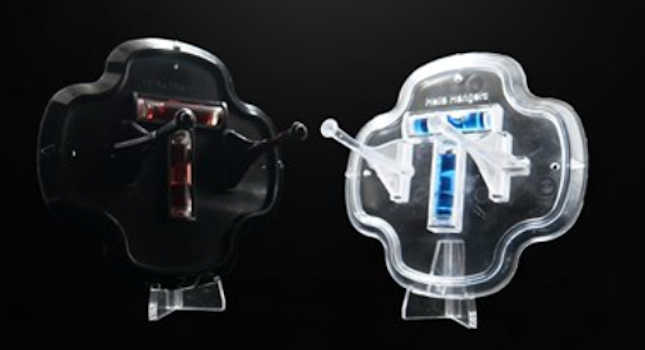
Hella Hangers
Sk8ology
Woodlabs
SkateHoarding HoverMount
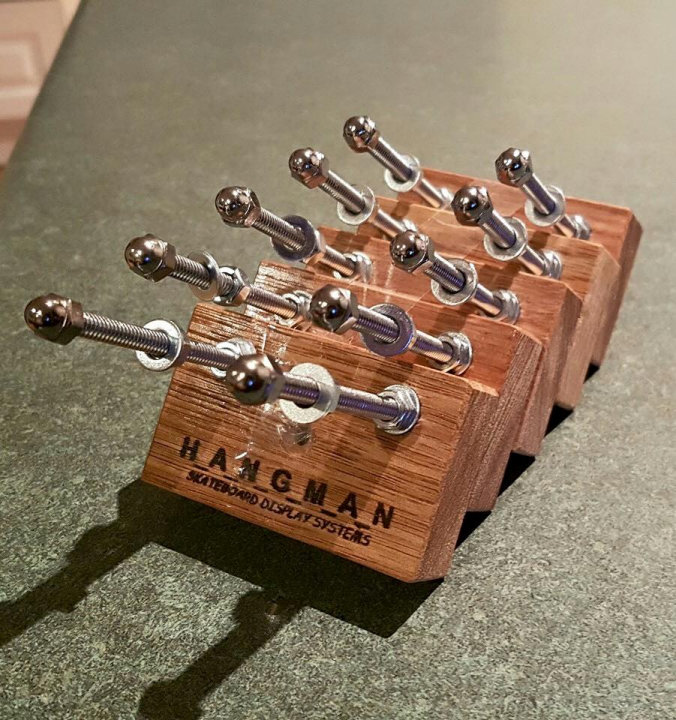
Hangman
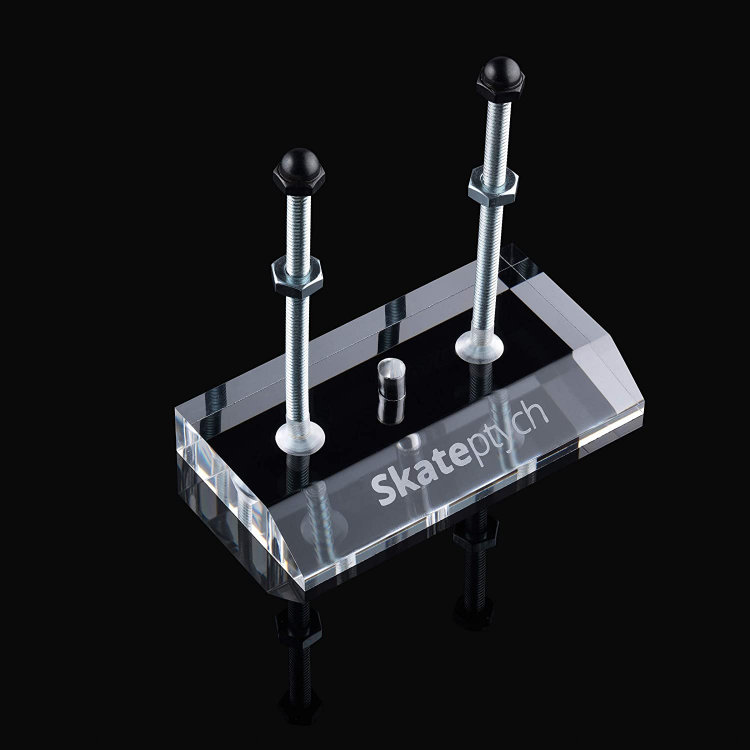
SKATEptych
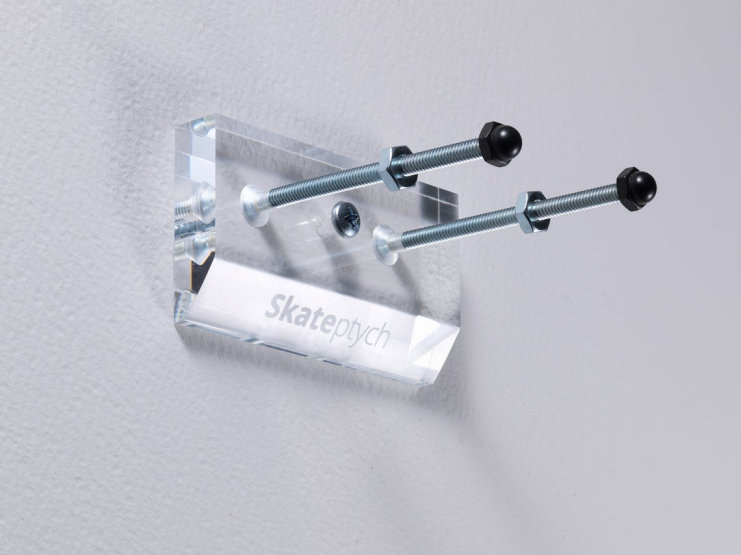
SKATEptych
ARTIOMO
Yezro

DropinSkates
HOUSTASK
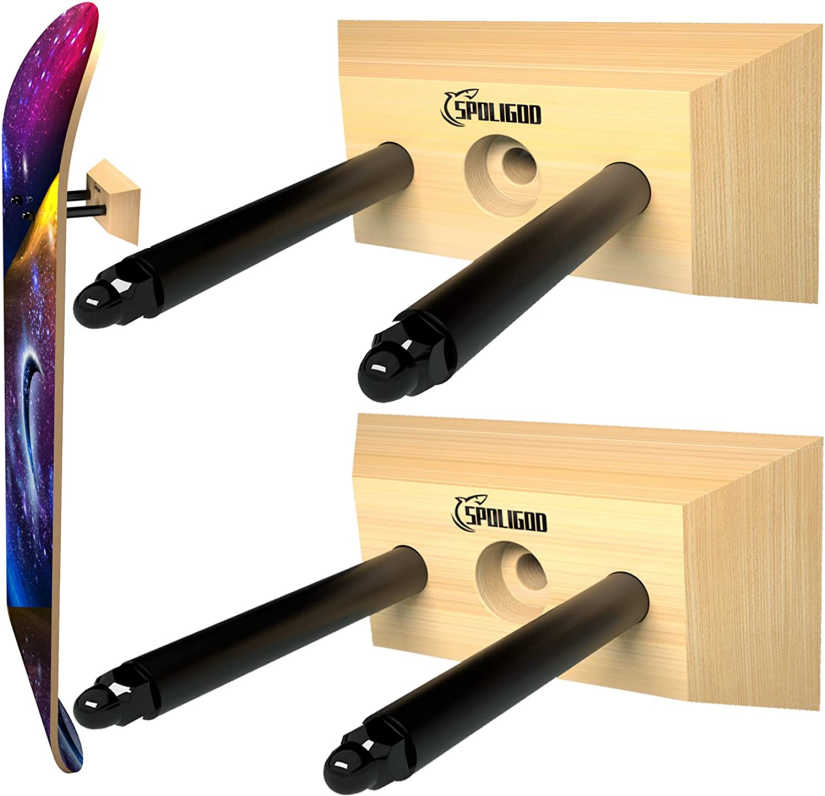
Spoligod
Boneyard
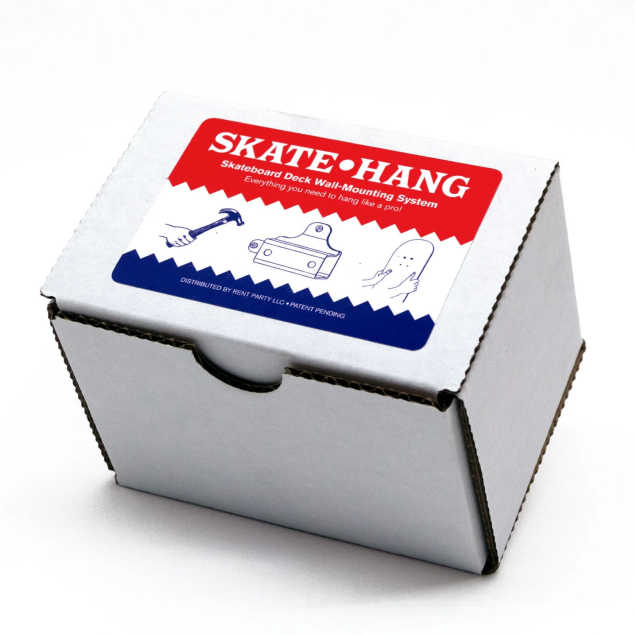
Skate Hang (@$12.99)
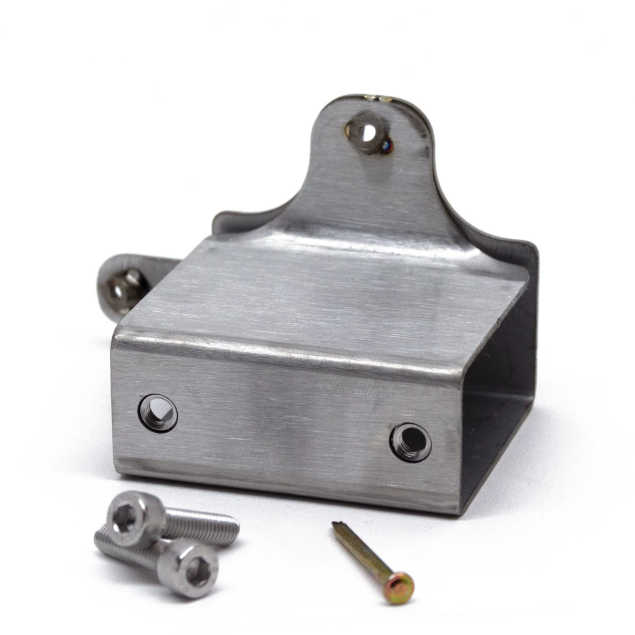
Skate Hang (metal bracket mounts to wall and comes with screws that hold deck to bracket through truck holes)
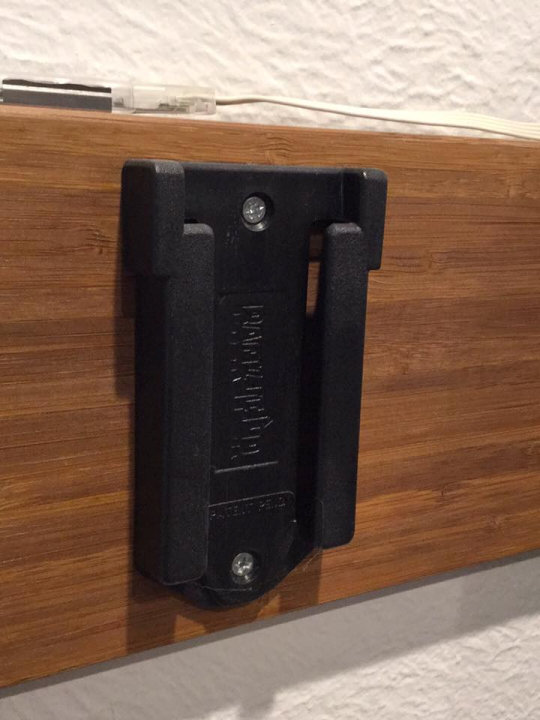
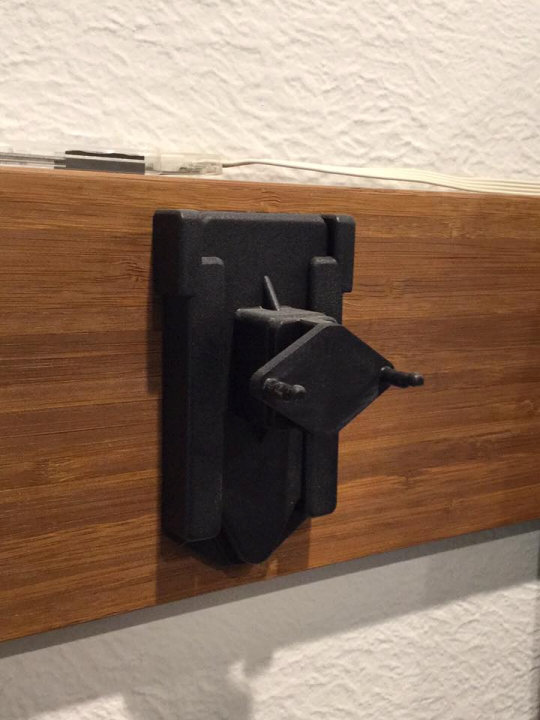
Rack It Up (intestering system with interchangable hangers from Australian company)
Rack It Up (with "float" hanger shown)
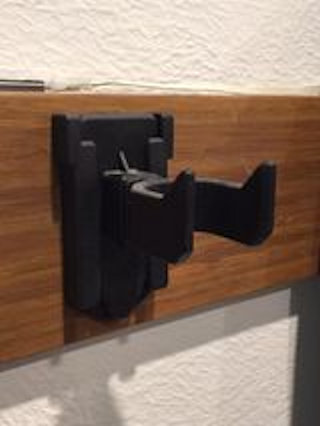
Rack It Up (with truck hanger shown)
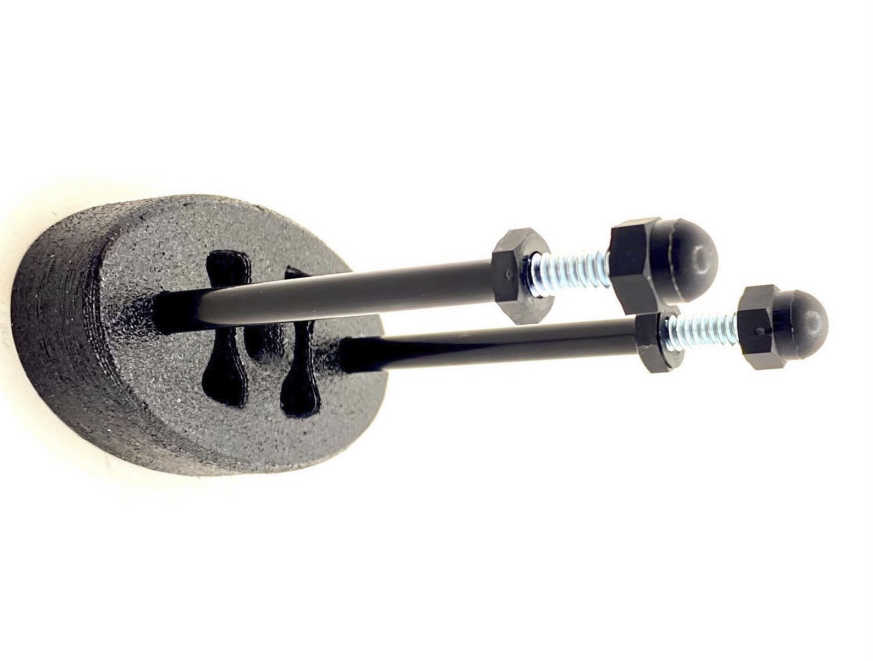
"We have the technology...3-D Printing!"
Very similar to the “floating” hanger and other examples above except you can “print” them at home or through a service (for example, my local UPS store will 3D print as a service they offer.).
Pros:
- Less materials
- Just "print at home” as needed
- Consistent quality and construction
Cons:
- Requires access to 3D printer
- Special skills may be necessary unless buying/using an already created 3D model instruction file
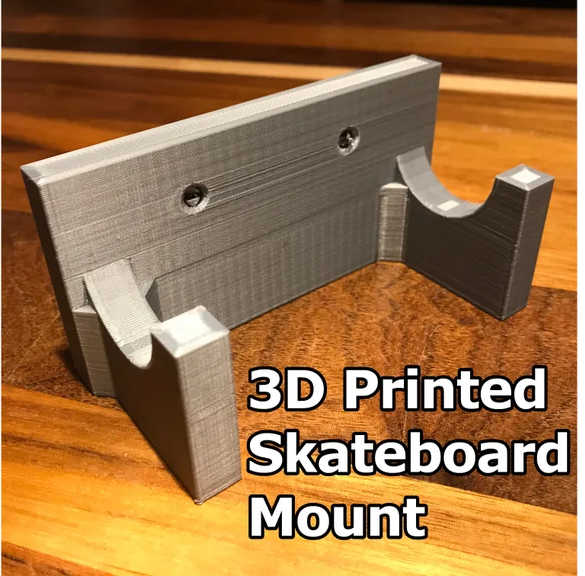
3D printed hanger by FIZZY123
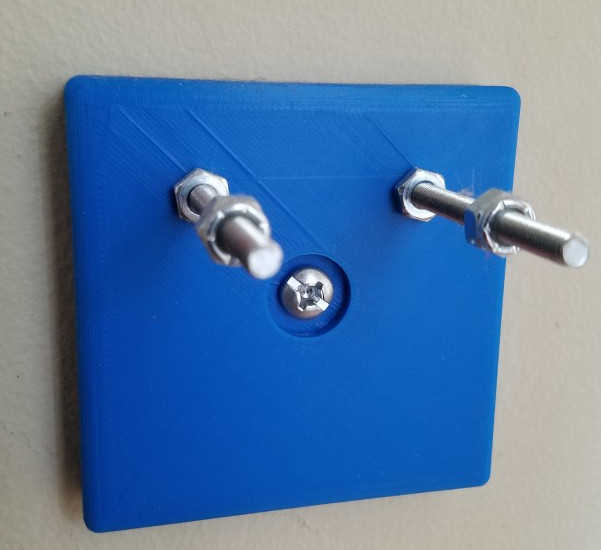
3D printed "floating" hanger by Chris Cornish
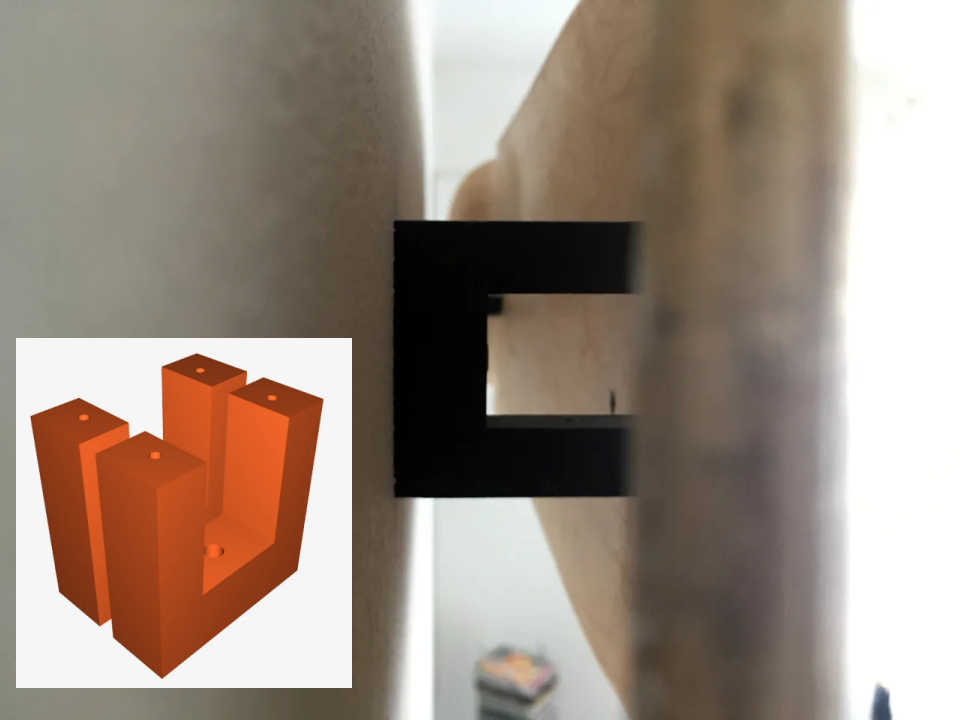
interesting "block" system by VOJTZ
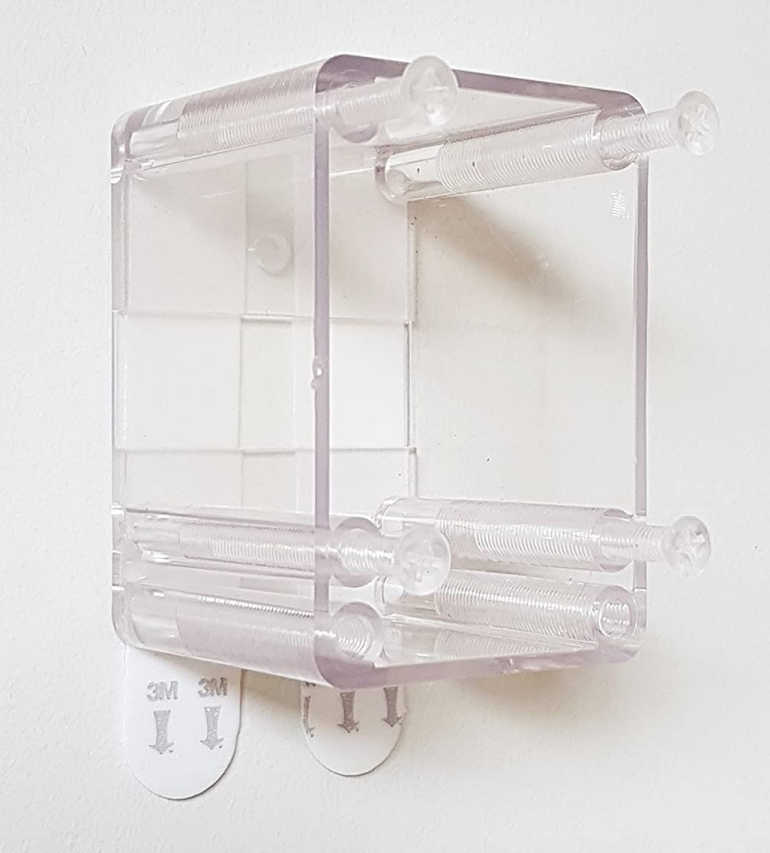
Deck Block 3D printed holder
Deck Block 3D printed holder in use

Interesting idea that clamps the deck in place
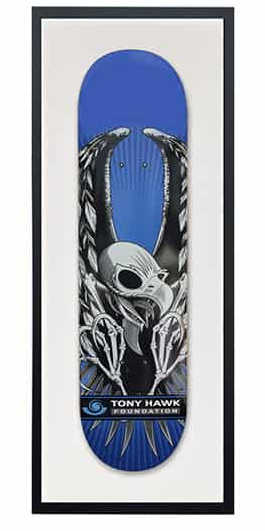
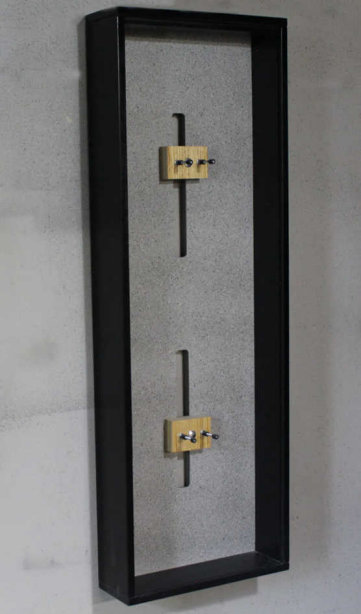
"Ballin' All Out!" (Shadowboxes and Professional Frames)
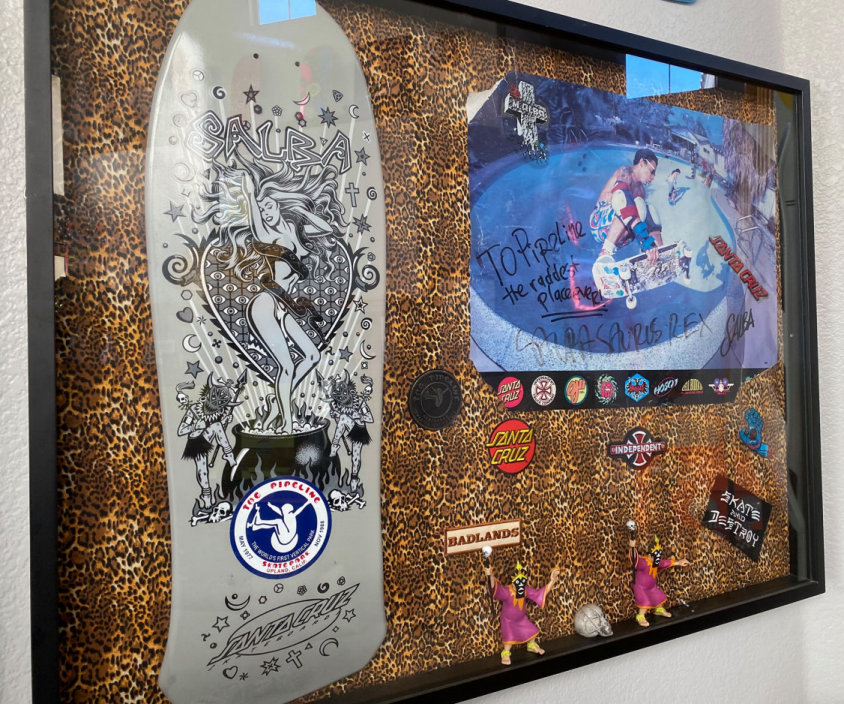
This is probably the most "ballerific" and legit way to display your decks. You mount the deck (or have it done) in a "shadowbox" you buy, build or have custom made. Much like the "floating" hangers, AOS made and sold custom "shadowboxes" way back starting in 2000. However, as you might find, ordering a shadowbox can be expensive. It was not the cost of the shadowbox (we charged $80 for the "basic" one), but the cost of shipping that can be $100 or more in some cases. For many people, that just makes it to cost prohibitive to have sent. Your best bet is to find a mass-produced, "big box store" product or have your local framing shop make one or build your own. A cheap option that a lot of collectors use is to order or buy direct from the "craft and hobby" store, Michael's ($59.99 at www.michaels.com). You can often find discount coupons or codes to knock the price down or wait until they are "buy one get one free" so you get two for about $60.00. There is also the company, Legacy Shadow Boxes (legacyshadowboxes.com), that offers another option. Finally, if money is no object, you can get one of the professionally made “Cadillac” products. Lastly, there are lots of online videos to build your own, and it really is a simple, process. The nice part of using a shadowbox is the ability to add additional material along with the deck to display such as related stickers, artwork, autographs, memorabilia, etc. to add to the overall composition. Lastly, there are all manner of options to really make your shadowbox stand out such as using different color/pattern "backgrounds" (or even using cloth/felt or collages of magazine clippings or artwork), using different colors and stains for the frame, using different materials for the frame (wood, plastic, metal, etc.), using hinges, "slide in" or mounted front panel and using different materials for the front panel itself (glass, plexiglass, etc.). For this method, it really is a "sky is the limit" kinda thing.
Pros:
- Protective
- Art gallery quality display
- Lots of options for lighting, including materials, etc.
Cons:
- Price - This can get real expensive! Shipping
- Wall Space
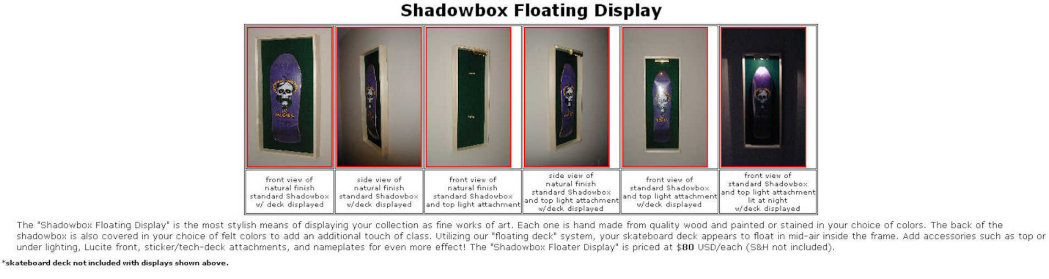
The original AOS custom shadowbox from 2000
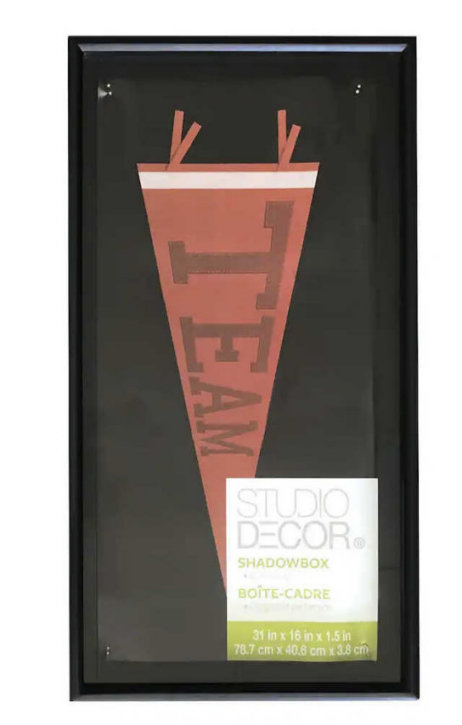
Michael's craft store shadow box (@$60)
Legacy Shadow Boxes (company) box
Legacy Shadow Boxes (company) cutomized
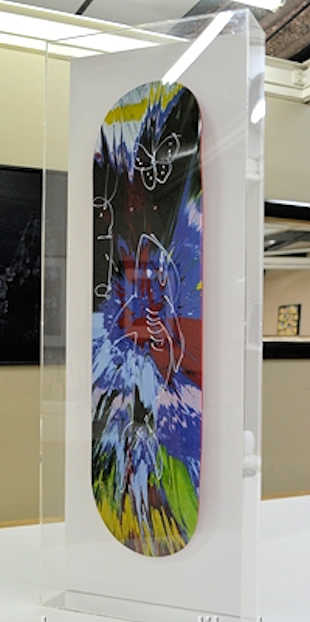
acrylic display box
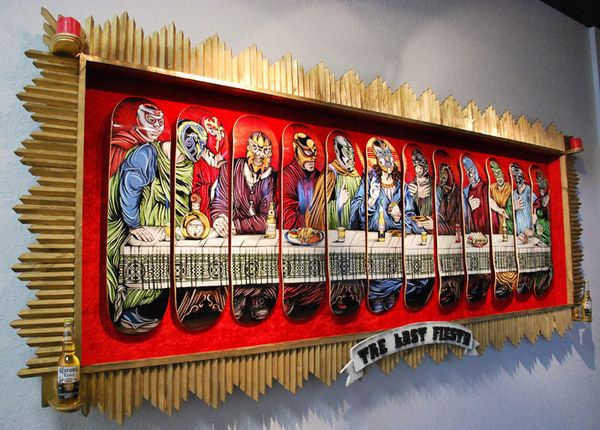
very custom shadow box for complete series
amazing display by Bryce Reynard

custom Gator display with documentary poster
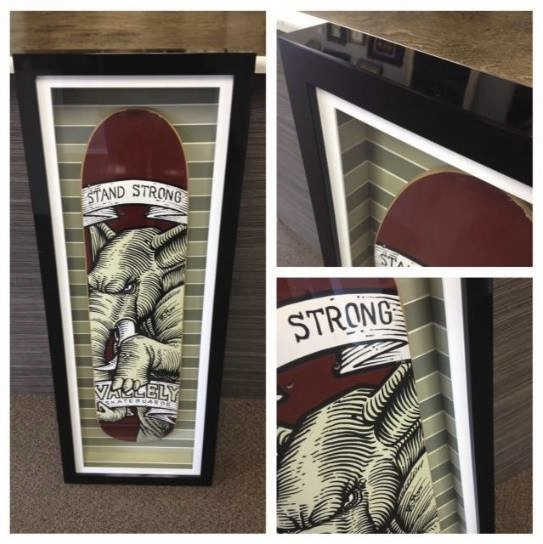
custom built display from framing shop
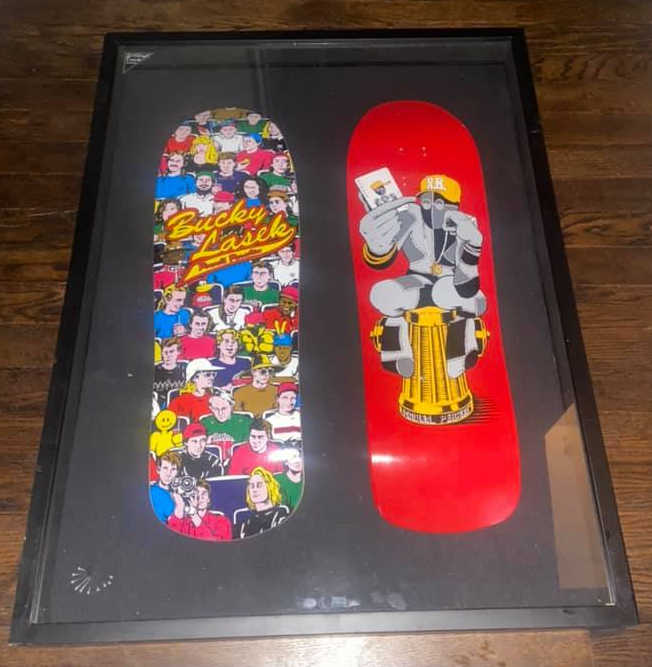
multiple decks in large shadowbox
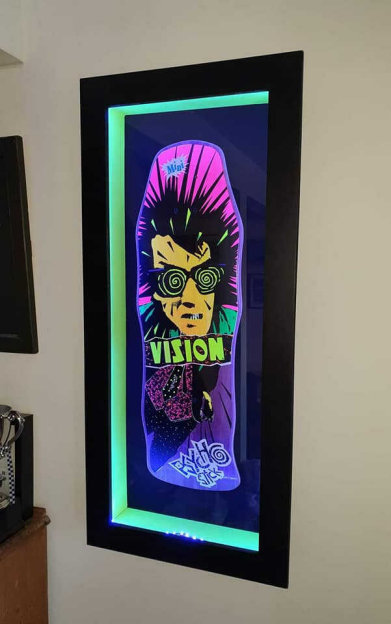
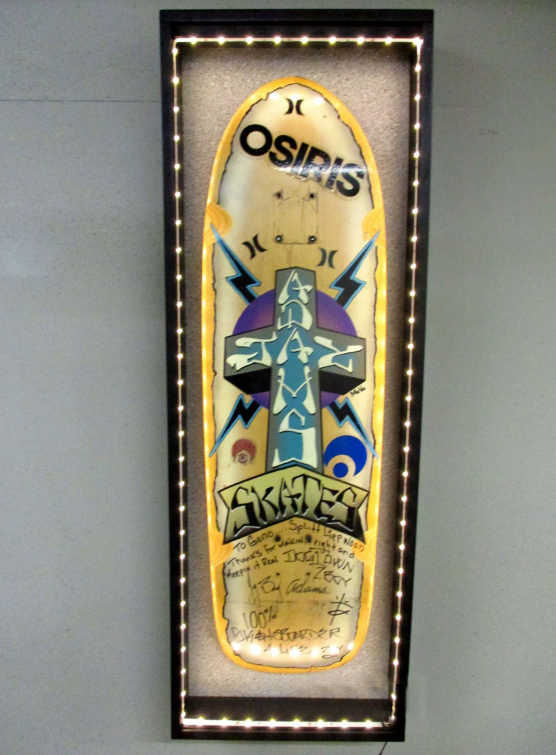
very cool LED color changing custom display
"You Complete Me!" (Displaying Complete Decks)
The question always comes up "...but what if I want to display a complete deck?!?! How can I hang it with trucks and wheels on!?!?". Some folks try to come up with gadgets that wrap around the board or some kind of big hooks or a clamp that fits over the nose and holds the truck. I have seen some "out there" ideas. Let's not overthink and complicate this. It is
actually much easier than you might think. ANY of the above methods listed will also work for completes. Ready for the big secret?.......
Simply remove truck bolts as needed (usually 2) and then go through the same process using those truck holes for any method we discussed. You will have to account for the additional weight when hanging and displaying a board in this manner, but it does work. In addition to the methods listed above, here are a few other ideas for displaying completes...
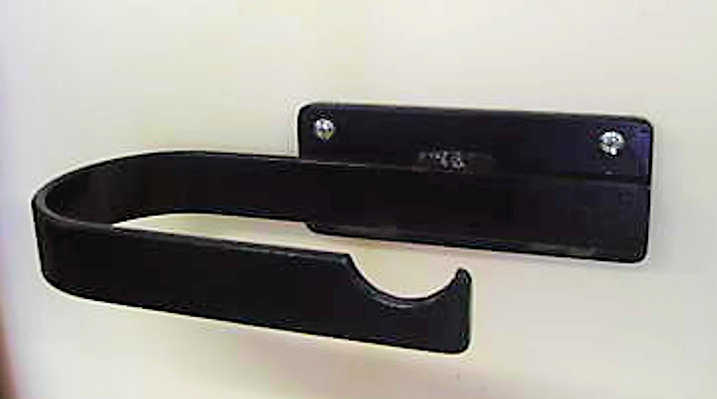
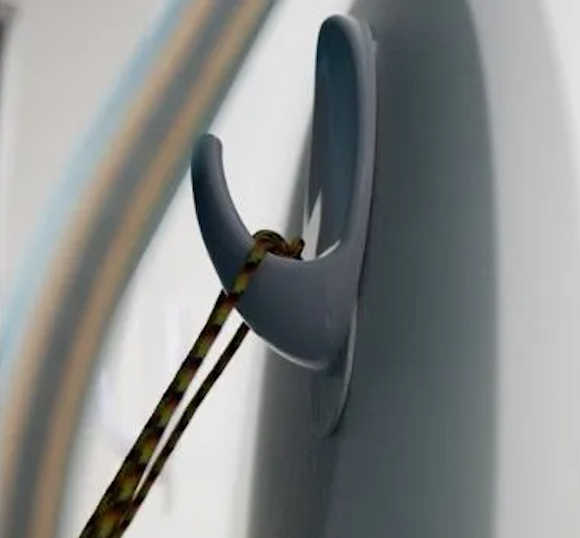
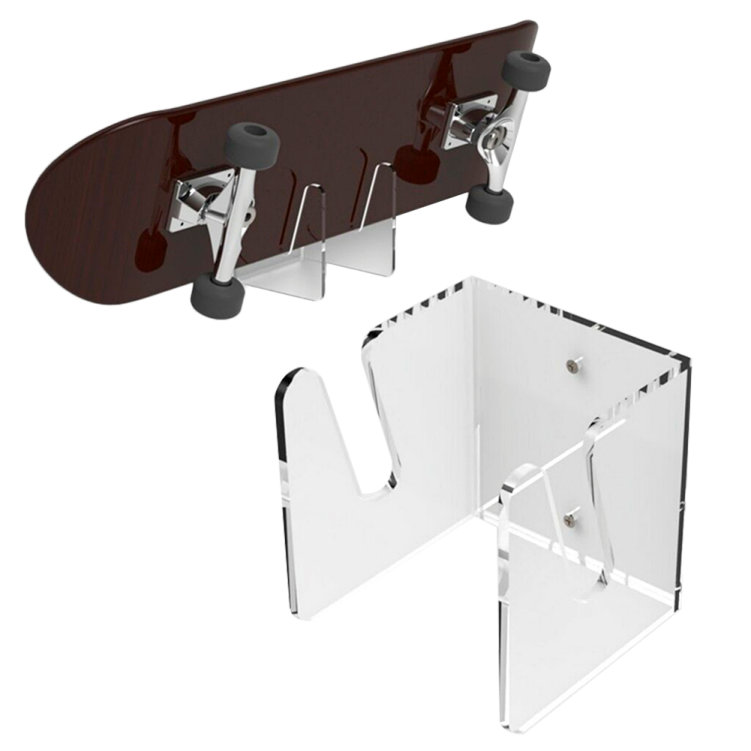
wall mounted side hook

side hook holding completes
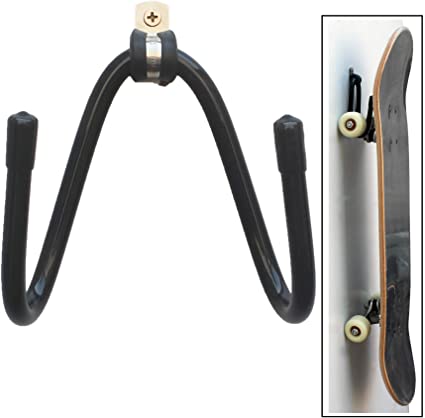
wall hook skateboard holder
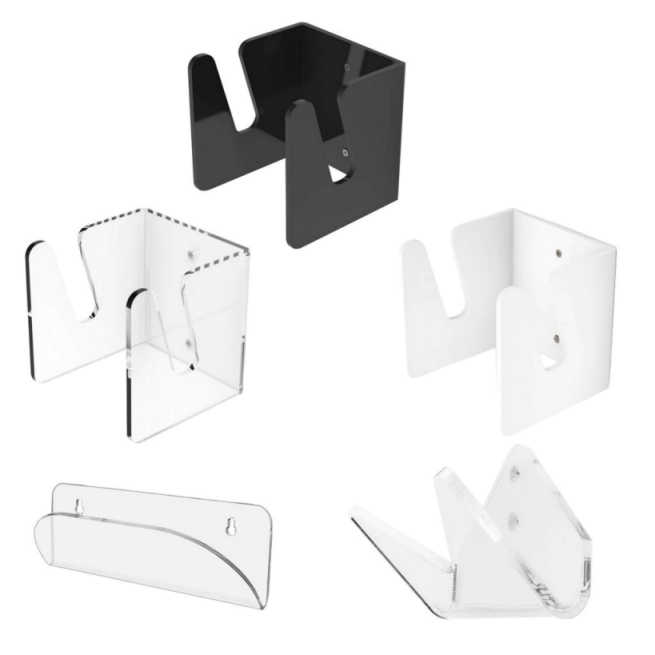
various wall mounts for completes
"Let's Get Sideways" (Horizontal Display)
Much like mounting completes, a lot of people tend to overcomplicate displaying a deck horizontally instead of vertically (ie. "long ways").Once again, ALL of the methods listed above will also work to display a deck horizontally. It does take a bit more effort, but works in much the same way. In some cases, you simply use TWO "kits" of any one above methods (for each end of deck) and level it up. The most common methods are:
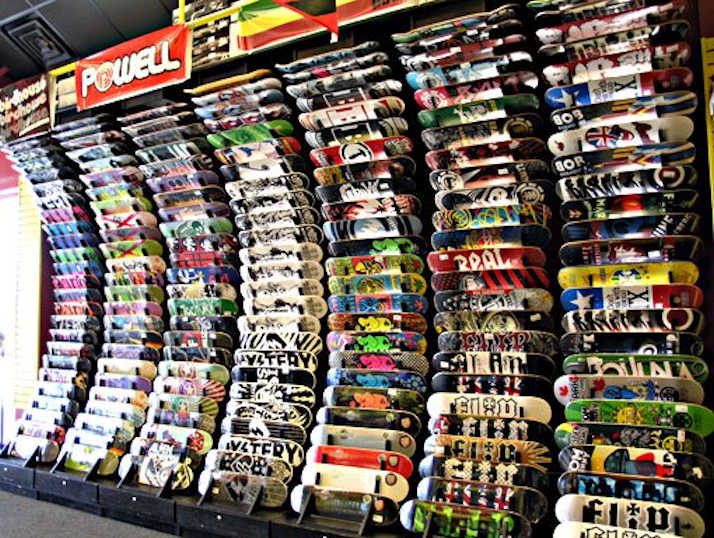
- Rack - yep, just like your local skate shop has....why not? You can find racks to display one or multiple decks this way. Its also very easy to make your own. PRO TIP: Cover inside edges of rack and any place that might "touch" the deck with felt (felt strips are easy) to keep from getting scuff marks.
- Hooks - To me, this is a bit much, but I have seen people display decks horizontally using the large "hooks" that bolt into walls and such (like for hanging bikes).
- Floating hangers x 2 - Just attach one to each side and make sure to level them when mounting to a wall.
- Picture Frame style - much like the string/shoelace/fishing line/wire method but intead of looping just one end, run your "string" through both ends to form your line across the back to hang on a hook/nail like hanging a picture frame.
One of my favorites! Curved board racks for maxiumum viewing!
professional wall mounted horizontal holder
BiJun rack with padded slots
repurposed wall hook for deck display
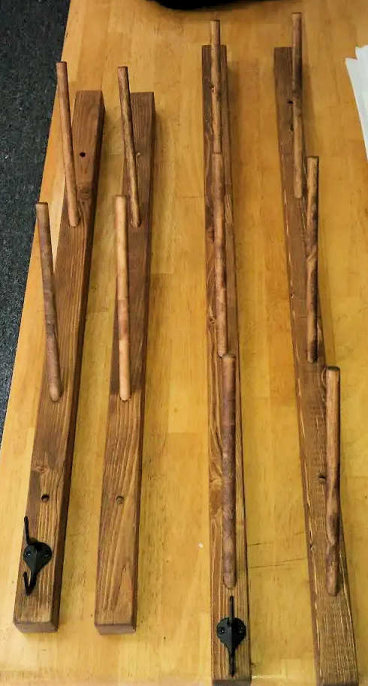
a simple homemade dowel rod rack
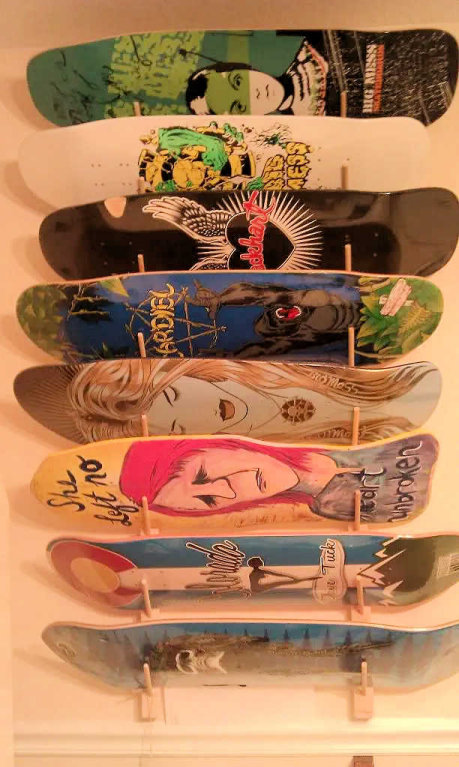
dowel rod rack being used for decks
"File Under OTHER" (Displaying Wheels, Trucks, etc)
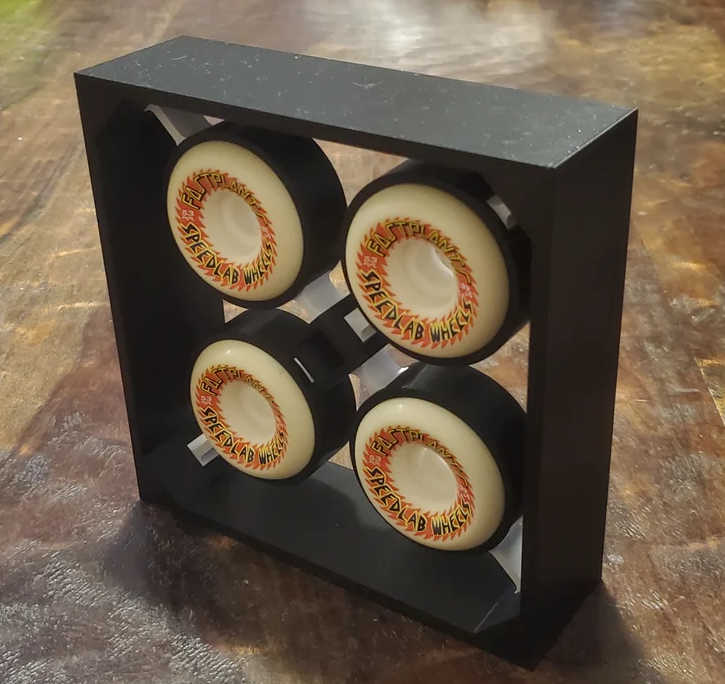
We covered decks pretty well but what if we have other stuff we want to display? I will not go into too much detail as this one just comes down to your own preference and how fanatical you really want to get (haha). For displaying stickers, a lot of people just simple use picture frames or better still, poster frames and just arrange them as they like within the frame (take care in how you make them "stick" so they do not damage the sticker or backing). For displaying trucks and stuff, just think about how your own skate shop does it best. No need to reinvent the wheel. Most skate shops just use those glass display cases, so why not you too? You can often find those display cases for super cheap on things like FB Marketplace, store closings, auctions, business furniture wholesalers/consignments, etc., so it just a matter of doing a little searching for a good deal. Even stores like Ikea have some pretty cool vertical "curio" cabinets that work well, are cheap, and easy to put together. For wheels, I have seen some interesting ways of showing them off, but I can say that the company NOT PRO Skateboards (notproskateboards.com) does the most amazing job I have seen in all my years. They will also work with you in putting into reality your own custom vision. AOS does not promote many companies, but we have no problem backing NOT PRO Skateboards for the good work they do!
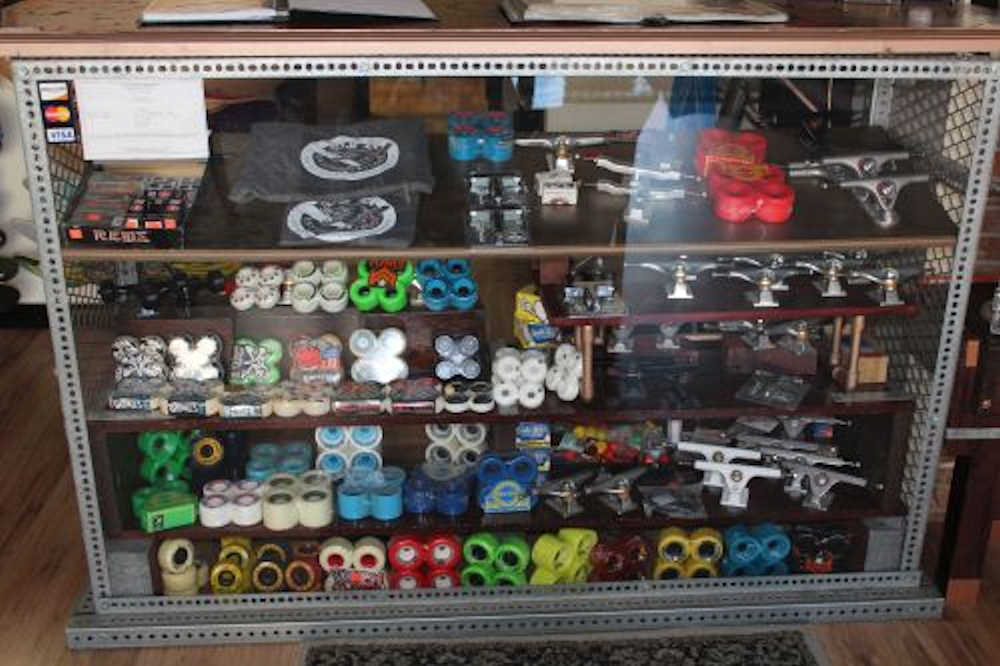
skate shop display case
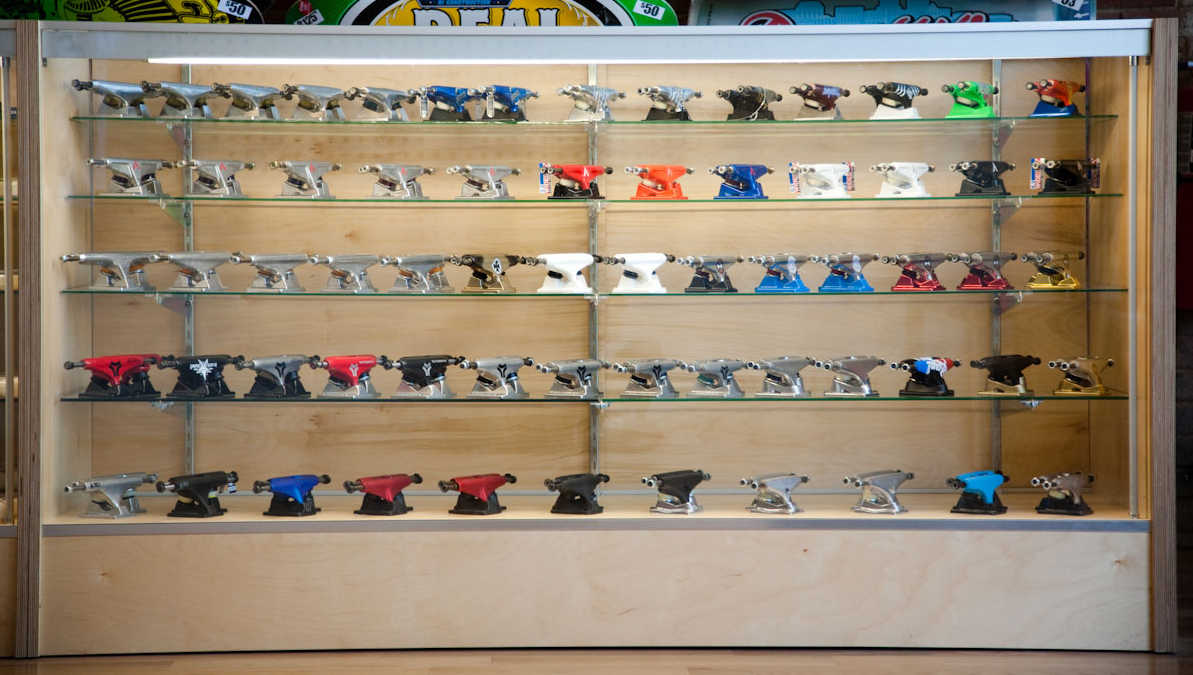
trucks in display case
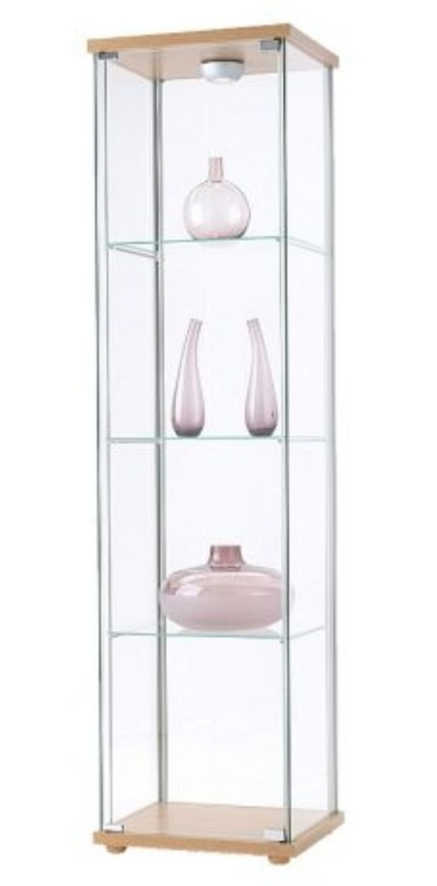
Ikea vertical curio cabinet
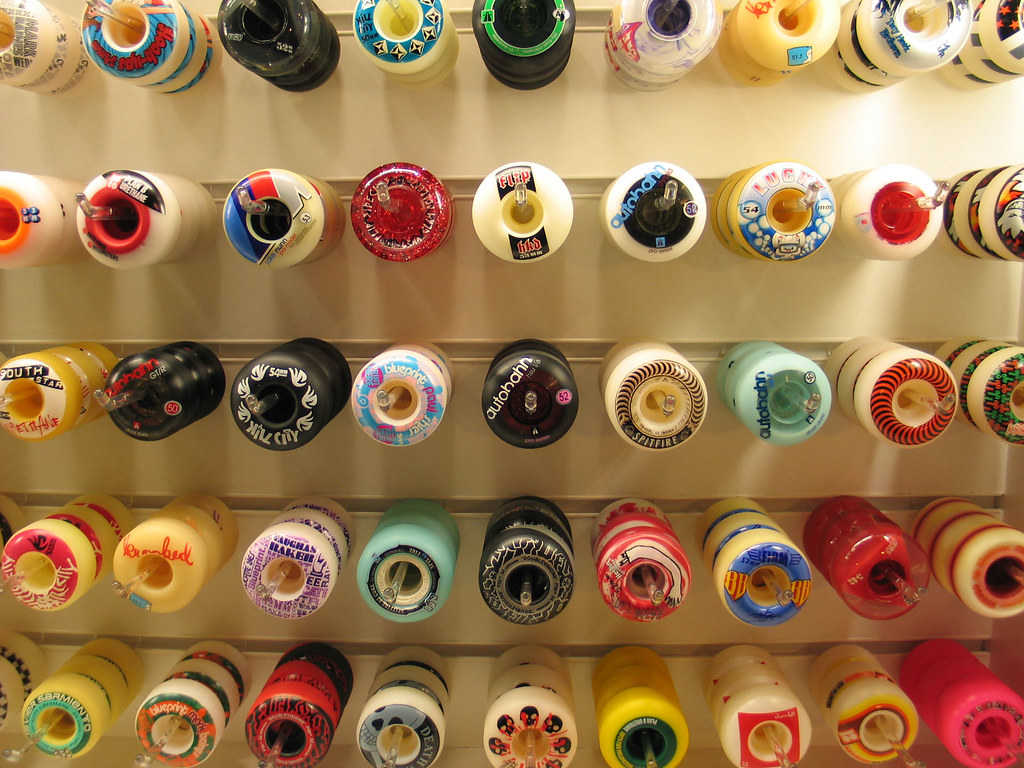
one way to display wheels using dowels/rods/posts
awesome custom Not Pro Skateboards display
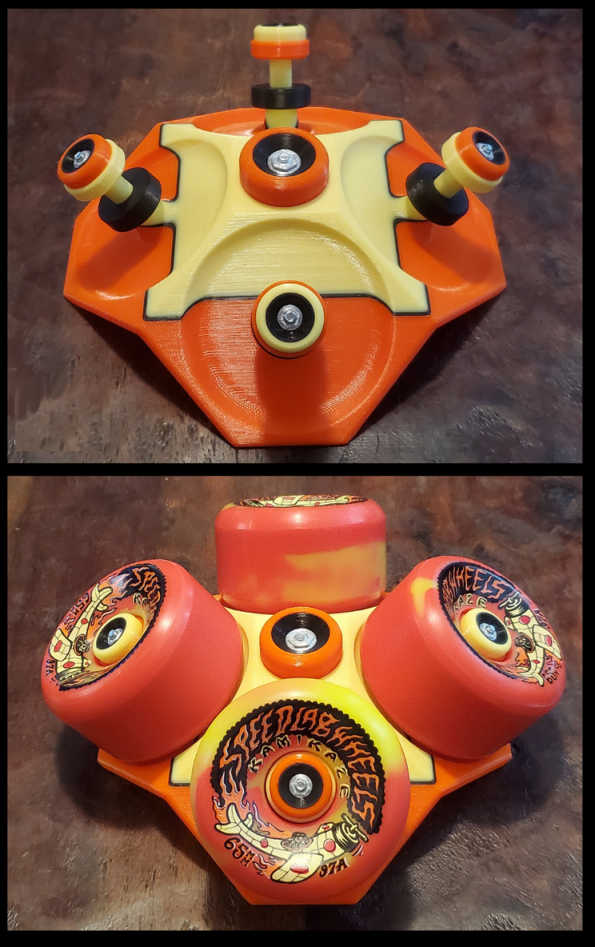
another Not Pro Skateboards display
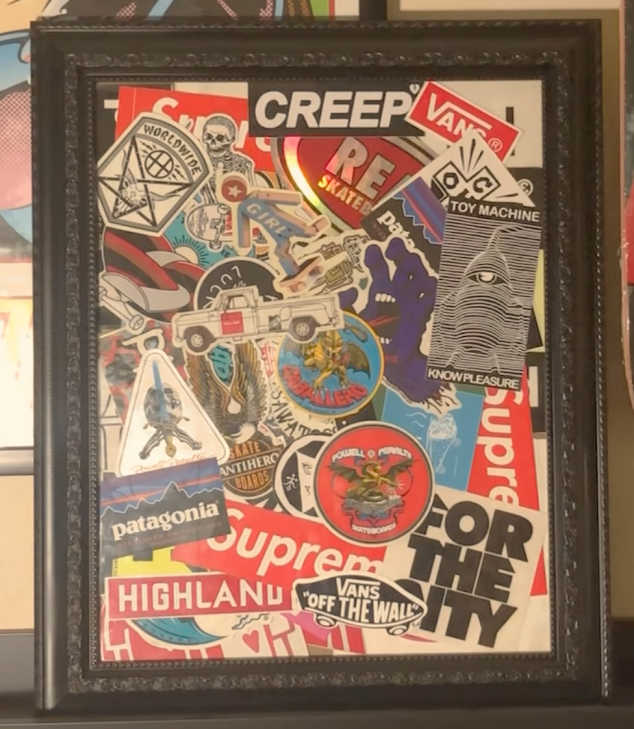
skate stickers randomly arranged in a picture frame
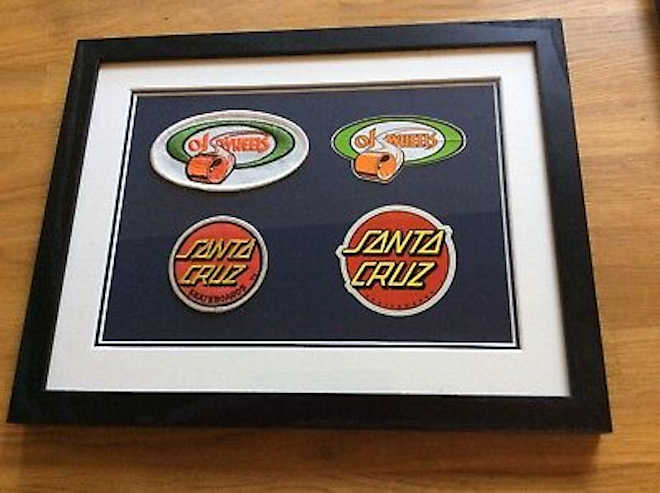
framed vintage skate stickers
Well, that's about it. We do hope you have found this guide useful. It is by no means the end-all-be-all, and maybe it will spark some idea within you for your own creative ideas. We will update this guide from time to time as well, so check back. In the meantime, spread the word and share your newfound knowledge with others. Thanks as always!